
Blogs
How to Clean Your Glock Properly: Step-by-Step Guide
May
How to Clean Your Glock Properly (Step-by-Step)
Glock handguns are famous for their unmatched ability to function under horrific environmental stress. They can handle mud, grit, and thousands of rounds of ignition residue while firing flawlessly. However, “low maintenance” does not mean “no maintenance.” If you depend on your handgun to protect your life or your home, keeping it foul-free and properly lubricated is an absolute necessity.
Learning how to clean your Glock properly does not require advanced mechanical skills or high-priced tools. By dedicating fifteen minutes after each range session to a simple, structured routine, you ensure your weapon retains its value and operates perfectly when the stakes are at their highest. Let’s walk through the factory-approved method safely and efficiently.
The Importance of Routine on How to Clean Your Glock Properly
Every time you press your trigger, a miniature explosion occurs inside your handgun. This combustion leaves behind carbon fouling, copper flakes, and lead residue. Over time, this gritty debris binds with ambient dust to form an abrasive paste that can slow down your slide’s cycle time and cause premature mechanical wear.
According to official factory protocols, your Glock should be thoroughly cleaned and lubricated:
- Immediately after every live-fire range session.
- At least once per month if the firearm is kept in a drawer or safe without being fired.
- Any time the firearm is exposed to rain, heavy perspiration, snow, or dusty desert environments.
Gathering Your Supplies: The Essential Cleaning Kit of How to Clean Your Glock Properly
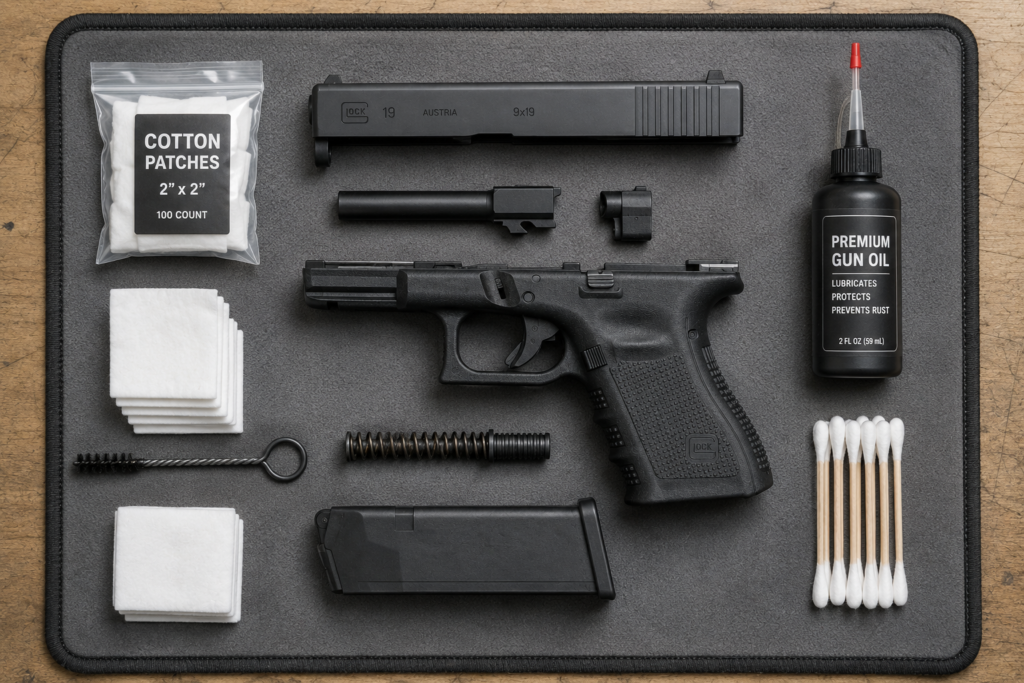
Before breaking down your gun, set up your work environment on a clean, steady, well-ventilated table. Grab these essential items:
- A quality cleaning rod fitted with a caliber-specific bronze bore brush.
- Lint-free cotton patches and a cleaning jag or slotted patch loop.
- A double-ended nylon brush (or an old toothbrush) to scrub stubborn surfaces.
- A high-grade cleaner/solvent or CLP (Cleaner, Lubricant, Protectant) designed for guns.
- Premium gun oil featuring a needle-tipped precision applicator.
- Cotton swabs for detailing narrow frame channels.
Step-by-Step Breakdown how to Clean Your Glock Properly
Follow this precise procedural sequence to ensure complete thoroughness and maximum personal safety.
1.The Safety Clearance:Mandatory Safety Step.
Point the firearm in a safe direction with your finger completely off the trigger. Press the magazine release and remove the magazine. Pull the slide backward sharply to eject any live ammunition resting inside the chamber. Lock the slide open and visually and physically inspect the inside of the chamber and magwell to confirm there are absolutely no bullets remaining. Move all live ammunition to a completely different room before moving forward.
2.Field Stripping the Pistol:No Tools Required.
While pointing the gun in a safe direction, pull the trigger to release internal striker tension—this is mechanically required to slide the upper assembly off. Grip the frame, pull the slide back a fraction of an inch (about a quarter-inch), and simultaneously pull down both tabs of the slide lock lever located on both sides of the frame. Push the entire slide assembly forward off the grip rails. Lift out the recoil spring assembly, then lift out the barrel.
3.Cleaning the Components:Removing Carbon and Fouling.
Wet a cotton patch with solvent and push it through the barrel from the chamber end out through the muzzle. Let it sit while you scrub the slide. Use a dry nylon brush to clean the breech face and underneath the extractor claw, keeping the muzzle end pointing downward so debris falls away from the firing pin channel. Scrub the four metal frame rails and wipe away loose carbon with a clean rag. Run a bronze brush through the barrel 5 to 10 times, followed by dry patches until they come out completely white.
4.Precise Lubrication:The Less-is-More Rule.
Glocks require very little oil; over-lubrication attracts harmful debris. Apply exactly five strategic drops using a needle applicator: one drop spread around the exterior of the barrel hood, one drop on the barrel locking cams, one drop inside the top interior of the slide where the barrel rubs, and one drop inside each of the two long guide channels on the slide. The single most important drop goes right where the rear trigger bar hits the connector hook at the back right corner of the polymer frame.
5.Reassembly and Function Check:Testing Mechanical Readiness.
Drop the barrel back inside the slide, compress the recoil spring assembly slightly, and seat it securely against the crescent notch on the barrel lug. Align the slide rails with the four metal tabs on the polymer frame and rack the slide back completely until it locks. Ensure the gun is empty, point it in a safe direction, press the trigger, and hold it down. While holding the trigger, rack the slide again, then slowly release the trigger until you hear and feel a crisp metallic click—this confirms your trigger reset is functioning flawlessly.
Common Maintenance Mistakes First-Time Owners Make
The Striker Channel Warning:
Never spray liquid solvent or drop gun oil directly down inside the firing pin/striker hole located on the breech face. The striker channel must remain completely clean and bone-dry. If oil gets trapped inside this enclosed space, it will accumulate carbon sludge over time, slowing down the firing pin spring and eventually leading to dangerous “light-primer strikes” that prevent the gun from firing when you need it most.
- Using too much oil: If your Glock looks wet, slippery, or is dripping fluid, it is over-lubricated. Wipe away the excess down to a microscopic layer.
- Ignoring the copper factory grease: Brand new Glocks ship from Austria with a distinct, copper-colored grease painted inside the slide cuts. Do not scrub this away during your initial cleanings; it is a specialized anti-seize compound meant to break the metal in over its first few hundred rounds.
- Cleaning from the wrong end: Always insert cleaning rods from the rear chamber side rather than the front muzzle tip. This protects the delicate crown of the muzzle rifling from being scratched, preserving your long-term accuracy.
Frequently Asked Questions (FAQ) on How to Clean Your Glock Properly
Featured Snippet Opportunity:
How often do you need to clean a Glock?
A Glock should be field-stripped, cleaned, and properly lubricated after every single live-fire shooting session, or at least once a month if stored without use. Additional cleanings are required immediately if the firearm is exposed to rain, snow, dirt, heavy sweat, or sand.
Q: Can I use WD-40 or automotive motor oil to clean my Glock?
A: No. WD-40 is a water displacer, not a dedicated firearm lubricant; it dries into a sticky, varnish-like residue that induces malfunctions. Stick exclusively to dedicated synthetic gun lubricants or high-performance CLPs engineered for extreme heat tolerances.
Q: Do I need to clean Glock magazines?
A: Rarely. For standard maintenance, simply wipe down the exterior plastic walls and clean the top follower surface with a dry brush. Avoid oiling the inside of a magazine entirely, as wet oil will migrate into your ammunition primers and deaden the powder.
Conclusion on How to Clean Your Glock Properly: Keeping Your Lifesaver Ready
Once your function check is complete, your Glock is ready to go back to duty or rest safely inside your quick-access home lockbox. Taking care of your firearm is an essential part of responsible gun ownership. By keeping the mechanics clean and understanding how to clean your Glock properly, you can rest easy knowing that your defensive tool will deliver 100% reliability whenever you call upon it.
Products by Category
-
Mossberg MC2c 9mm Optic-Ready Compact Pistol – 10+1 Black (Restricted)
$425.00 -
Mossberg MC2c 9mm Optic-Ready Compact Pistol – Night Sights Black (89033)
$459.00 -
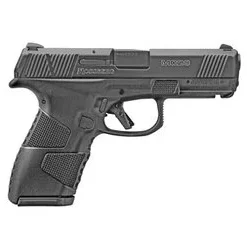
Mossberg MC2sc 9mm Sub-Compact Optic-Ready Pistol – Tritium Pro Sights (89044)
$475.00 -
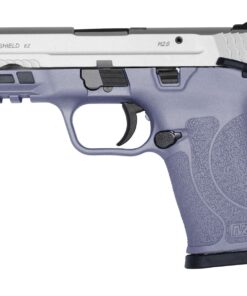
Smith & Wesson Equalizer 9mm Orchid NTS Optics-Ready Pistol
$495.00 -
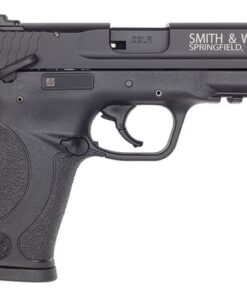
Smith & Wesson M&P22 Compact .22 LR Pistol – Threaded Barrel (108390)
$390.00 -

Smith & Wesson sw1911 108482 e-series .45 ACP 5″ Stainless Pistol (108482)
$995.00 -

Smith & Wesson SW1911SC E-Series .45 ACP Scandium Frame Pistol
$1,399.00 -

Smith & Wesson SW1911SC E-Series .45 ACP sw1911sc 108483 black scandium
$1,499.00 -
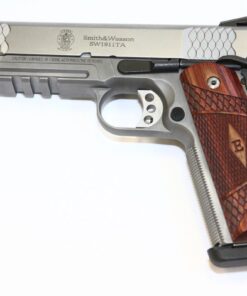
Smith & Wesson SW1911TA 108411 E-Series .45 ACP 5″ Stainless Tactical Rail Pistol
$1,255.00
